



Are you one of the countless individuals who have experienced that heart-stopping moment when important files disappear without a trace? Whether it’s cherished family photos, critical work documents, or your favorite music collection, losing data can feel like a nightmare. But fear not! With EaseUS by your side, reclaiming what you’ve lost has never been easier—or more efficient. In this blog post, we’ll guide you through the simple steps to harness the power of EaseUS for effortless data recovery. Say goodbye to panic and hello to peace of mind as we explore how this powerful tool can help you retrieve your lost treasures in just a few clicks. Let’s dive into the world of seamless recovery and ensure your digital life stays intact!
Why data recovery is important for individuals and businesses
Data recovery is crucial for both individuals and businesses. Accidental deletions, hardware failures, or cyberattacks can lead to significant losses. For personal users, losing precious photos or important documents can be devastating. For businesses, the stakes are even higher. Data loss can disrupt operations and impact revenue. Customer information and sensitive data are often at risk during these incidents. Having a solid data recovery plan safeguards against unexpected events. It ensures that critical information remains accessible when needed most. The emotional toll of lost data shouldn’t be underestimated either. Knowing you have a reliable solution in place provides peace of mind. In an age where digital assets hold immense value, protecting them is essential for everyone—whether you’re managing family memories or running a Fortune 500 company.
Step-by-step guide on using EaseUS for data recovery
Begin your data recovery journey by downloading the EaseUS software from its official website. The installation process is straightforward; simply follow the on-screen prompts to get it set up on your device. Once installed, launch the program and select the recovery mode that fits your needs—whether you’re recovering deleted files, formatting issues, or lost partitions. Next comes a crucial step: scanning for lost or deleted files. Choose the specific drive where you experienced data loss and initiate a deep scan. This may take some time depending on how much data there is to sift through. After scanning, you’ll have access to a list of recoverable files. Preview them to ensure you’re selecting the correct ones before hitting that recover button to restore your precious data back to safety!
Downloading and installing the software
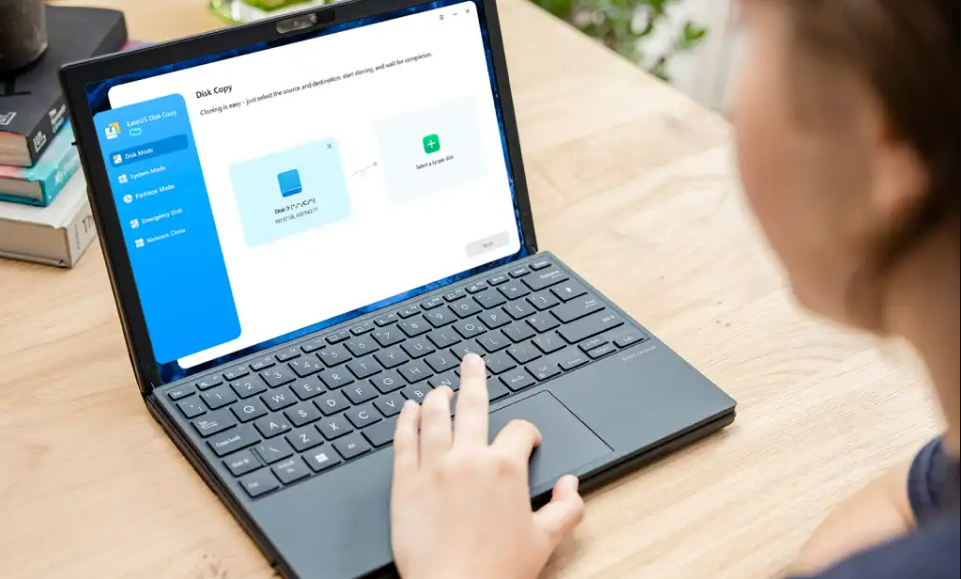
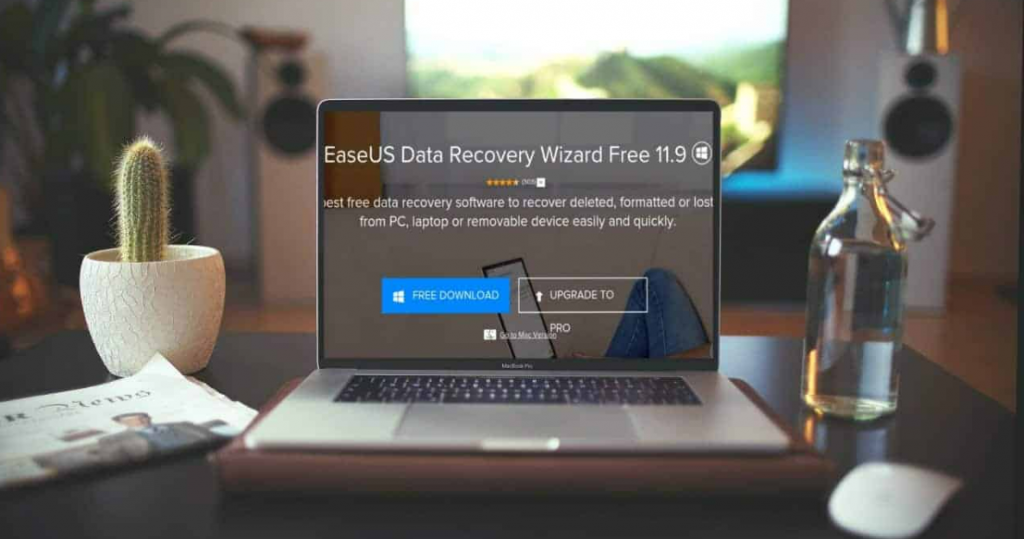
To get started with EaseUS, head over to their official website. There, you’ll find the latest version of the software available for download. Click on the download button that suits your operating system. The process is quick and straightforward. Once the download completes, locate the file in your downloads folder and double-click it. This action will initiate the installation wizard. Follow the on-screen instructions carefully. You can choose between a standard or custom installation based on your preferences. For most users, the standard option works just fine. After a few clicks, you’ll see a confirmation message indicating that installation was successful. Now you’re ready to explore its features and recover lost files effortlessly!
Selecting the appropriate recovery mode
Selecting the right recovery mode in EaseUS is crucial for a successful data retrieval experience. The software offers various modes tailored to different scenarios, ensuring you choose the one that best fits your needs. If you’ve accidentally deleted files, opt for the “Deleted File Recovery” mode. This option quickly scans your storage for items that have been removed but not yet overwritten. For more complex situations like formatted drives or partition loss, the “Partition Recovery” mode is ideal. It dives deeper into recovering entire partitions and their contents. Each option presents its own unique scanning methods, allowing users to customize their search based on urgency and file importance. Taking a moment to assess your situation can save time and enhance recovery effectiveness, making it easier than ever to restore precious data with confidence.
Scanning for lost or deleted files
Once you’ve selected your recovery mode in EaseUS, the next step is scanning for lost or deleted files. This process is crucial as it searches through your storage device to identify anything that can be recovered. EaseUS offers a smart scanning feature that doesn’t just look for deleted files but also digs deeper into areas where data might still exist. You’ll see a progress bar indicating how far along the scan is, giving you a sense of what’s happening behind the scenes. Depending on the size of your drive and the extent of data loss, this may take some time. Patience pays off; sometimes, hidden gems await discovery in those deep recesses of digital memory. After completion, you’ll have access to a list of recoverable files categorized by type and location. This organized approach makes it easier for you to find exactly what you’re looking for among potentially thousands of items.
Previewing and recovering the files
Once the scanning process is complete, it’s time to review your findings. EaseUS provides a user-friendly interface that displays all recoverable files in an organized manner. You’ll see categories like documents, images, videos, and more. Take advantage of the preview feature before finalizing your recovery. Click on any file to view its contents—this ensures you’re selecting exactly what you need without cluttering your storage with unnecessary data. After identifying the desired files, select them for recovery by checking the boxes next to their names. You can easily restore multiple items at once or focus solely on those crucial ones. Finally, choose a safe destination for recovered files. Avoid saving them back to their original location initially; this prevents potential overwriting issues and enhances recovery success rates. With these simple steps done right, you’re well on your way to reclaiming lost data effortlessly!
Tips and tricks for maximizing the effectiveness of EaseUS
To get the most out of EaseUS, start by familiarizing yourself with its interface. A clear understanding of where everything is can save you time during recovery. Before initiating a scan, ensure that your storage device has enough space for recovered files. This helps avoid any complications during the process. Consider using the custom scan feature. It allows you to target specific areas or file types, making it faster and more efficient than a full scan. Regularly update your software. The latest features and fixes enhance performance considerably. Lastly, back up important data regularly to prevent future loss. While EaseUS is powerful, having preventive measures in place provides peace of mind and saves effort later on.